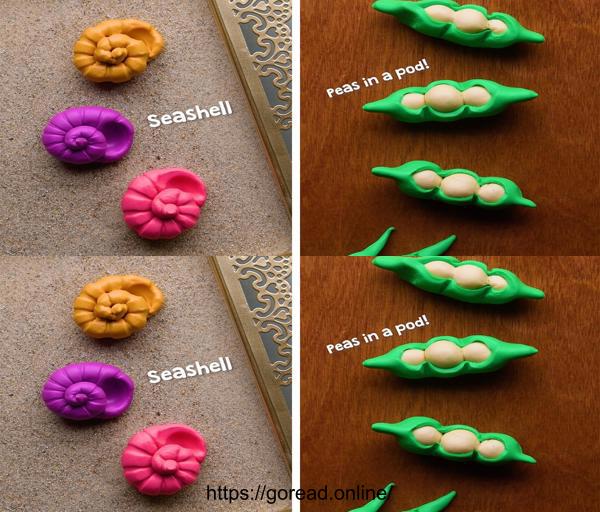
Transform Your Play into Masterpiece with These Simple Clay Techniques!
If you love getting creative with arts and crafts, then working with clay can be a rewarding and enjoyable experience. Clay art allows you to express your artistic talents and create beautiful, one-of-a-kind pieces that you can be proud of. In this article, we will explore some simple clay techniques that can help you turn your playtime into a masterpiece!
1. Choosing the Right Clay
Before you start working on your clay art project, it’s essential to choose the right type of clay. Clay comes in different varieties such as air-dry clay, polymer clay, and oven-bake clay. Consider the characteristics of each type of clay and choose the one that best suits your project. Air-dry clay is great for beginners and does not require a kiln for firing, while polymer clay is versatile and can be baked in a home oven.
2. Basic Clay Techniques
- Kneading: Before sculpting or molding your clay, knead it to make it soft and pliable. This process helps to remove any air bubbles and makes the clay easier to work with.
- Pinching: Pinching is a simple technique where you use your fingers to shape the clay. This method is perfect for creating small pots, bowls, or animal figures.
- Coiling: Coiling involves rolling out long ropes or snakes of clay and then stacking or coiling them on top of each other to create various shapes and forms.
- Slab Building: Slab building involves rolling out clay into flat sheets which can then be cut and assembled to create more complex shapes such as boxes, tiles, or sculptures.
3. Texturing and Detailing
Adding texture and details to your clay creations can take them to the next level. There are various tools and techniques you can use to add texture, such as stamps, carving tools, or even household items like toothpicks and sponges. Experiment with different textures to create unique and visually appealing designs.
4. Painting and Decorating
Once your clay piece is fully dried and hardened, you can enhance its appearance by painting and decorating it. Use acrylic paints, glazes, or embellishments like beads and sequins to add color and personality to your creation. Seal your finished piece with a clear varnish or glaze to protect the surface and give it a professional finish.
5. Firing and Curing
Depending on the type of clay you are using, you may need to fire or cure your piece to achieve a permanent and durable finish. Follow the manufacturer’s instructions for baking polymer clay in an oven or air-drying clay under the sun. If you are using kiln-fired clay, make sure to carefully monitor the temperature and firing process to prevent cracking or warping.
6. Experiment and Have Fun!
One of the best parts of working with clay is the opportunity to experiment and let your creativity run wild. Don’t be afraid to try new techniques, mix different types of clay, or combine clay with other materials like wood, metal, or fabric. The more you play and explore, the more you will improve your skills and develop your unique artistic style.
By following these simple clay techniques and tips, you can transform your playtime into a masterpiece of artistic creation. Whether you are a beginner or experienced crafter, working with clay offers endless possibilities for expressing your creativity and bringing your ideas to life. So gather your clay supplies, set aside some time for creativity, and start sculpting your way to stunning clay art!


