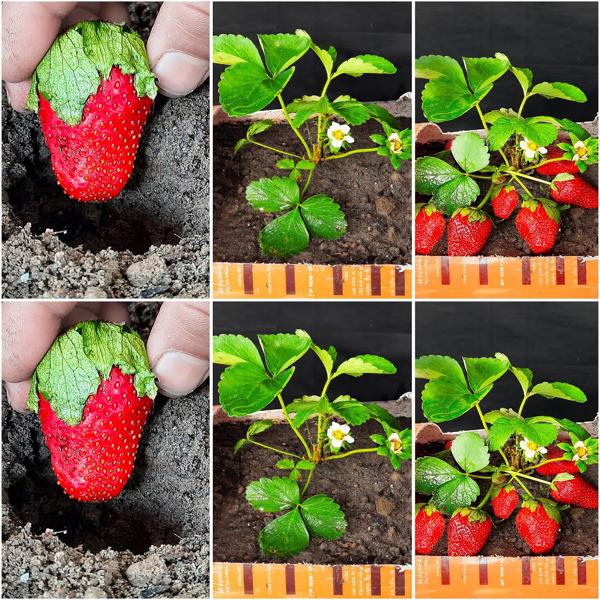
Seeds to Strawberries: Your Guide to Homegrown Berry Bliss!
There’s nothing quite like the sweet, juicy taste of freshly picked strawberries from your own garden. Growing your own strawberries can be a rewarding and enjoyable experience, but it does take some time and effort. In this guide, we will walk you through the process of growing strawberries from seeds to harvest, so you can enjoy a plentiful supply of delicious berries right in your backyard.
Step 1: Choosing the Right Seeds
- When it comes to growing strawberries from seeds, you have a few options. You can purchase seeds from a reputable supplier, or you can save seeds from ripe strawberries that you’ve purchased or grown yourself.
- If you are buying seeds, look for varieties that are well-suited to your growing region and climate. Some popular strawberry varieties include ‘Albion’, ‘Seascape’, and ‘Eversweet’.
- Make sure to follow the instructions on the seed packet for the best results. Some seeds may require stratification, which is a process of exposing the seeds to cold temperatures to help them germinate.
Step 2: Starting Seeds Indoors
- Start your strawberry seeds indoors in early spring, about 6-8 weeks before the last frost date in your area.
- Fill a seed tray or small pots with a seed starting mix, and plant the seeds according to the instructions on the seed packet.
- Keep the soil moist and place the seeds in a warm, sunny location. It’s important to provide adequate light for the seeds to germinate and grow.
Step 3: Transplanting Seedlings
- Once your strawberry seedlings have grown to about 2-3 inches tall and have at least two sets of true leaves, they are ready to be transplanted into your garden.
- Choose a sunny location with well-draining soil for your strawberries. Prepare the soil by adding compost or aged manure to improve fertility.
- Plant the seedlings about 12-18 inches apart, with the roots spread out and the crown (where the roots meet the stem) at soil level.
Step 4: Caring for Your Strawberries
- Water your strawberry plants regularly, especially during hot, dry weather. Keep the soil consistently moist but not waterlogged.
- Feed your strawberries with a balanced fertilizer every 4-6 weeks to promote healthy growth and fruit production.
- Control weeds around your plants to prevent competition for nutrients and water. Mulching with straw or pine needles can help suppress weeds and retain soil moisture.
Step 5: Harvesting Your Strawberries
- Most strawberry varieties will start producing fruit in their second year. Once your plants start to flower, you can expect to see ripe berries in about 4-6 weeks.
- Harvest your strawberries when they are fully ripe and have turned a deep red color. Gently twist the berries off the plant to avoid damaging the delicate fruit.
- Enjoy your homegrown strawberries fresh from the garden, or use them in delicious recipes like strawberry shortcake, jam, or smoothies!
By following these steps and providing proper care for your strawberry plants, you can enjoy a bountiful harvest of fresh, juicy berries all summer long. Growing strawberries from seeds can be a fun and rewarding experience, and there’s nothing quite like the taste of a sun-ripened strawberry picked straight from your own backyard.


