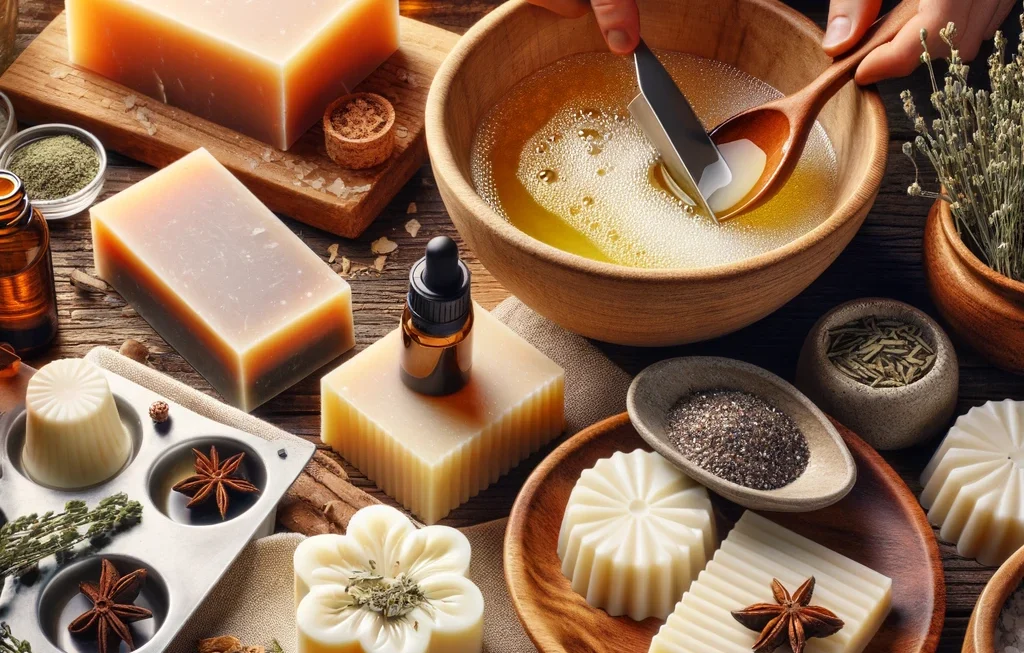
Creating homemade soap is a rewarding DIY project that not only allows you to control the ingredients that go into your products but also enables you to craft unique, personal items for yourself or for gifts. In this article, we’ll explore the basics of soap making, including a simple recipe, the benefits of homemade soap, and some creative ideas to inspire you.
The Basics of Soap Making
Soap making involves a chemical process called saponification, where fats or oils are mixed with an alkali (such as lye) to create soap. There are various methods of making soap, but one of the most popular for beginners is the melt and pour process. This method is straightforward, safe, and requires minimal equipment.
Ingredients and Supplies
To start, you’ll need:
- A melt and pour soap base (available in types like glycerin, goat’s milk, or shea butter)
- Essential oils or fragrance oils (for scent)
- Colorants (optional)
- Additives like herbs, flowers, or oatmeal (optional)
- A silicone mold or a loaf pan lined with parchment paper
- A microwave or double boiler
- A spoon or spatula for stirring
- Alcohol in a spray bottle (to eliminate bubbles)
Step-by-Step Guide
- Cut and Melt the Soap Base: Chop your soap base into small chunks and melt them gently using a microwave or a double boiler. If using a microwave, heat the base in short bursts, stirring in between, to avoid overheating.
- Add Fragrance and Color: Once melted, add your choice of essential oils or fragrance oils. A good rule of thumb is to add about 1 teaspoon of fragrance per pound of soap base. If you’re using colorants, add them at this stage.
- Incorporate Additives: Now is the time to add any extra ingredients like herbs, flower petals, or oatmeal. Stir well to distribute evenly.
- Pour into Molds: Carefully pour the mixture into your molds. Tap the molds gently on the counter to release any air bubbles.
- Spray with Alcohol: A quick spray of alcohol on the surface will eliminate any bubbles that formed during pouring.
- Let It Set: Allow the soap to cool and harden for several hours or overnight. Once set, pop the soap out of the mold.
Benefits of Homemade Soap
- Customization: You can create a soap that’s perfectly tailored to your skin type and preferences.
- Natural Ingredients: You control what goes into your soap, avoiding harsh chemicals.
- Eco-Friendly: Homemade soap can be more environmentally friendly, especially if you use organic and sustainably sourced ingredients.
- Creative Outlet: Soap making is an art, offering endless possibilities for creativity and personalization.
Creative Ideas
- Layered Soap: Create visually appealing bars by pouring multiple layers of differently colored soap, letting each layer set before adding the next.
- Embedded Objects: Add a surprise element by embedding small toys, flowers, or even a loofah sponge into your soap.
- Swirls and Patterns: Use a skewer or knife to swirl different colored soap mixtures together for a marbled effect.
Conclusion
Homemade soap making is a delightful blend of science and art. Not only do you get to enjoy the process of creating something by hand, but you also end up with a product that’s beneficial for your skin and well-being. With a little practice and creativity, you can craft soaps that are both beautiful and functional, perfect for everyday use or special gifts.
Now, let’s generate some images to illustrate the process and final products of homemade soap making.


